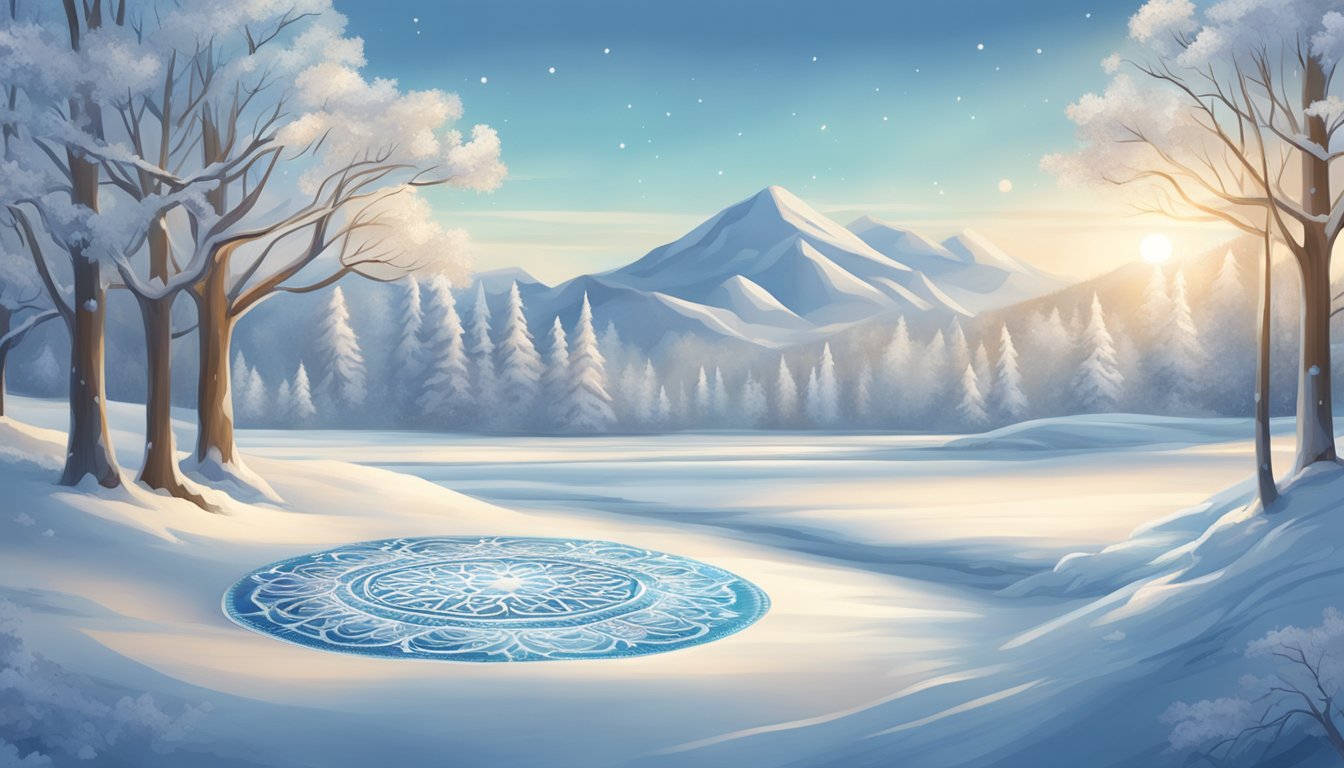
Ice and Snow Art Mandalas: Creating Winter Wonders
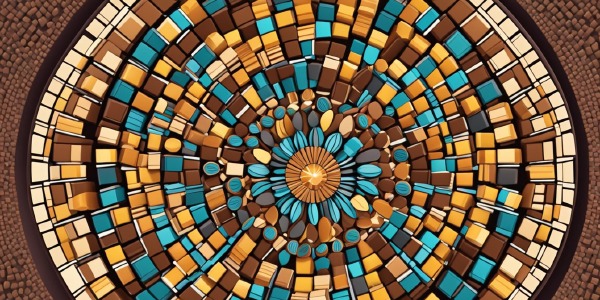
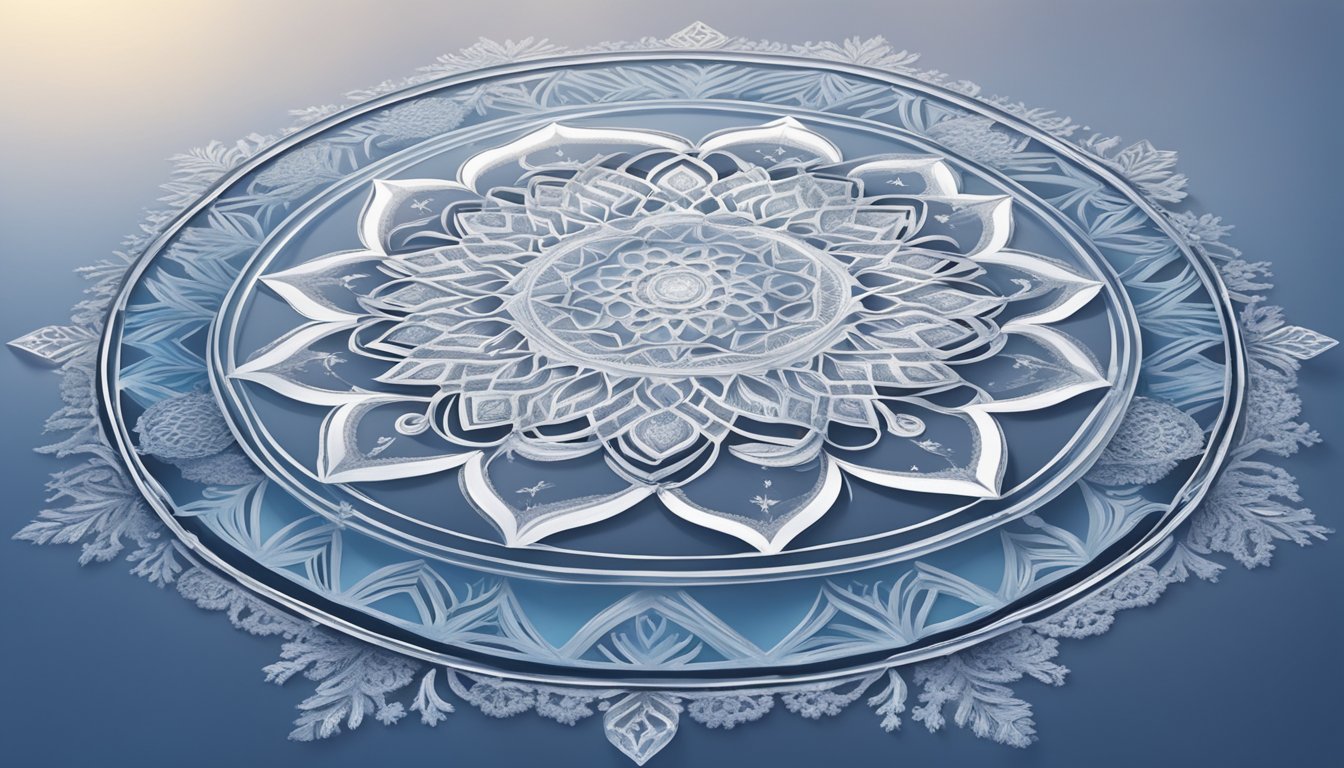
Ice and snow art mandalas merge the ancient practice of mandala creation with the ephemeral beauty of winter’s raw materials. These intricate designs, typically circular and symmetrical, are created using snow and ice, invoking a sense of balance and beauty that reflects the natural world.
The process of making an ice or snow mandala is not only an artistic endeavor but also doubles as a meditative and mindful practice. It invites you to connect with the present moment as you engage with the elements.
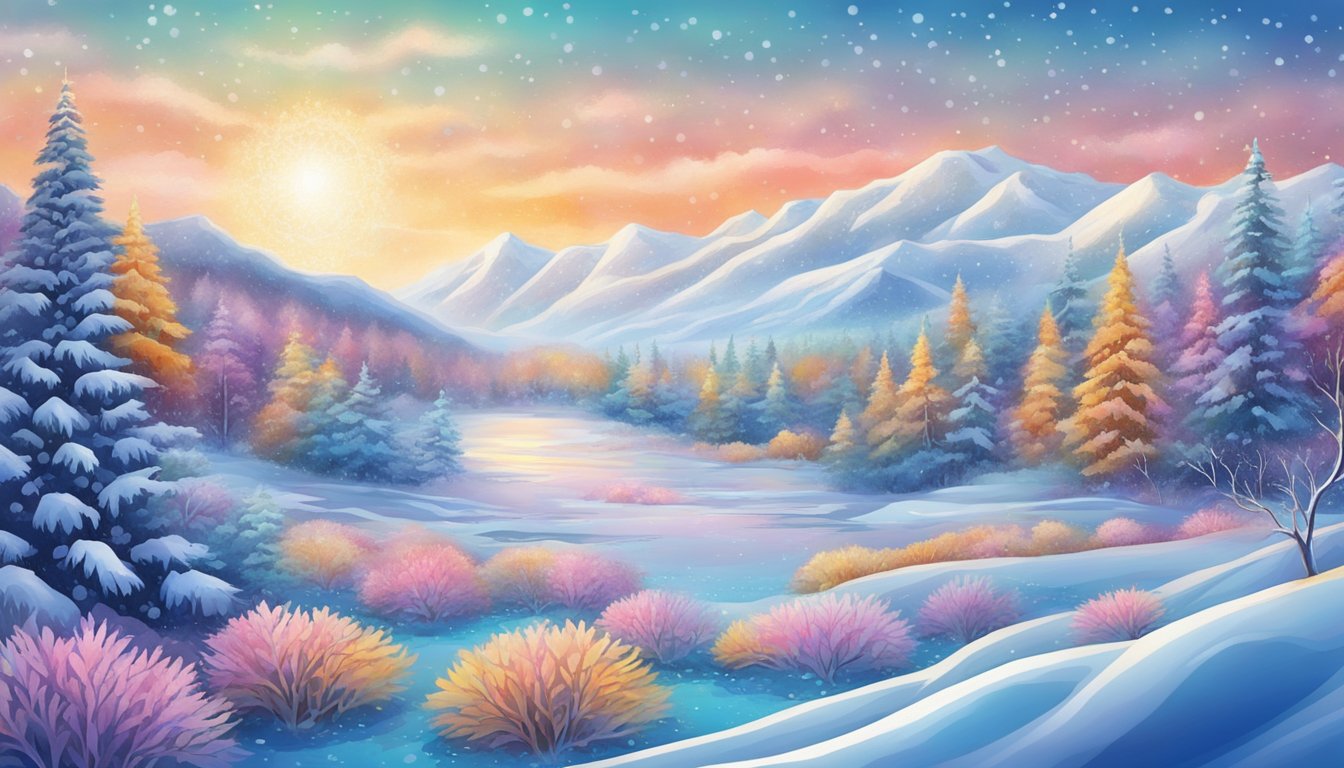
As the winter season blankets the landscape with snow, it provides a unique canvas for creativity and self-expression. Crafting ice and snow mandalas is an activity that can enhance your seasonal decor, adding a personal and meaningful touch. This art form encourages you to explore various dyeing techniques that can add vivid colors to your creations.
The finished mandala can be photographed to capture the fleeting art, allowing you to preserve the moment of beauty before the ice and snow melt away.
Key Takeaways
- Ice and snow mandala crafting combines artistic expression with meditative practice.
- The creation process can be a personalized addition to winter decor.
- Photographing your mandalas allows preserving the transient art.
The Basics of Mandalas
Mandalas hold profound significance in various cultures around the world, serving as symbols of harmony and wholeness.
Meaning and Origin
The term mandala originates from the ancient Indian language of Sanskrit, translating to “circle.” Mandala represents the universe, a cosmic diagram that reminds you of your relation to the infinite. Initially found in Hindu and Buddhist symbolism, mandalas have grown to become a universal symbol for wholeness and can be seen in architectural designs, religious art, and nature.
Mandalas in Nature
You can observe the mandala’s circular, symmetrical form in various elements of nature:
- Flowers: Petal arrangements around the stamen
- Snowflakes: Intricate patterns repeating around a central point
- Spider Webs: Radial design created by a spider’s silk
These natural mandalas remind you of the cyclic patterns within nature and life itself.
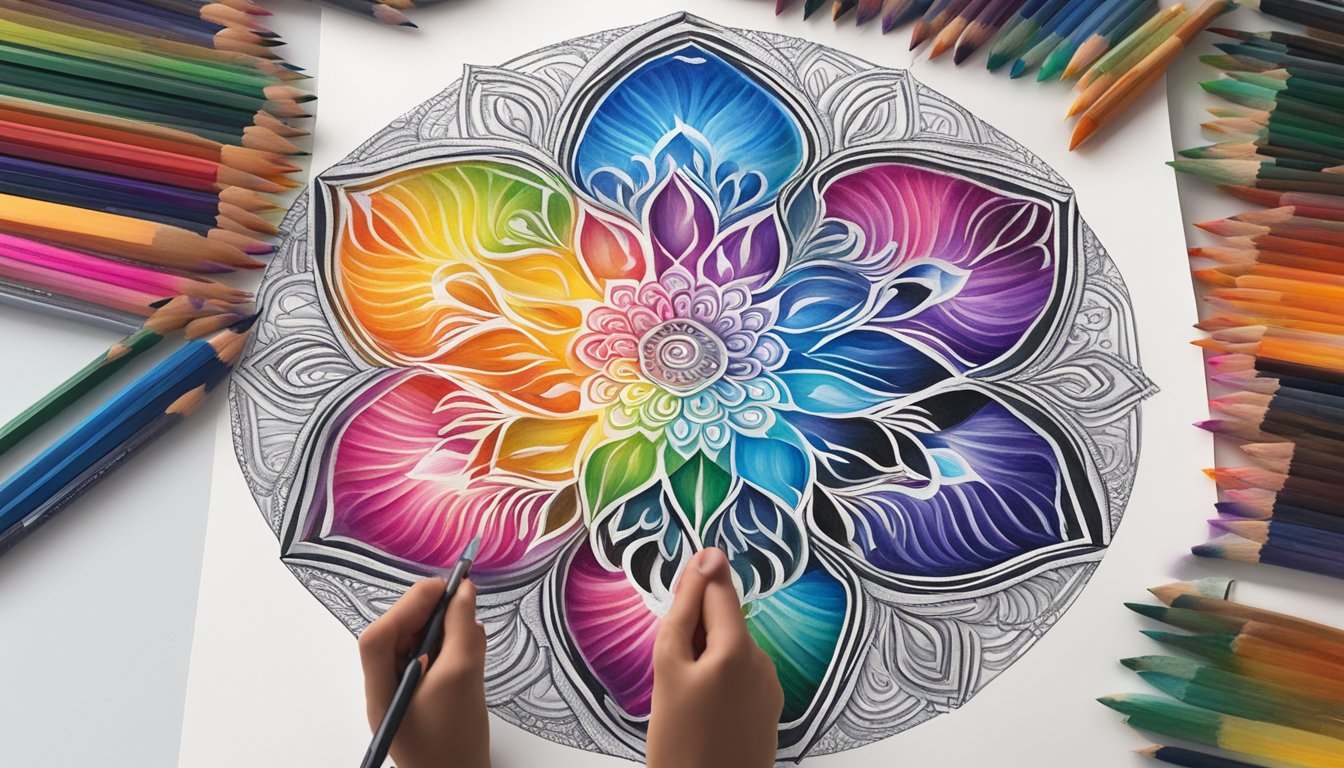
Mandala as an Art Form
In contemporary art forms, mandala art has flourished as a tool for relaxation and self-expression. You can create beautiful mandala designs using:
- Ink: For sharp, defining lines on a mandala coloring page.
- Colored Pencils: To gently shade and blend colors.
- Watercolors: For a more fluid, dreamy effect.
Mandala coloring pages are particularly popular, providing you not only an artistic outlet but also a way to practice mindfulness and meditation.
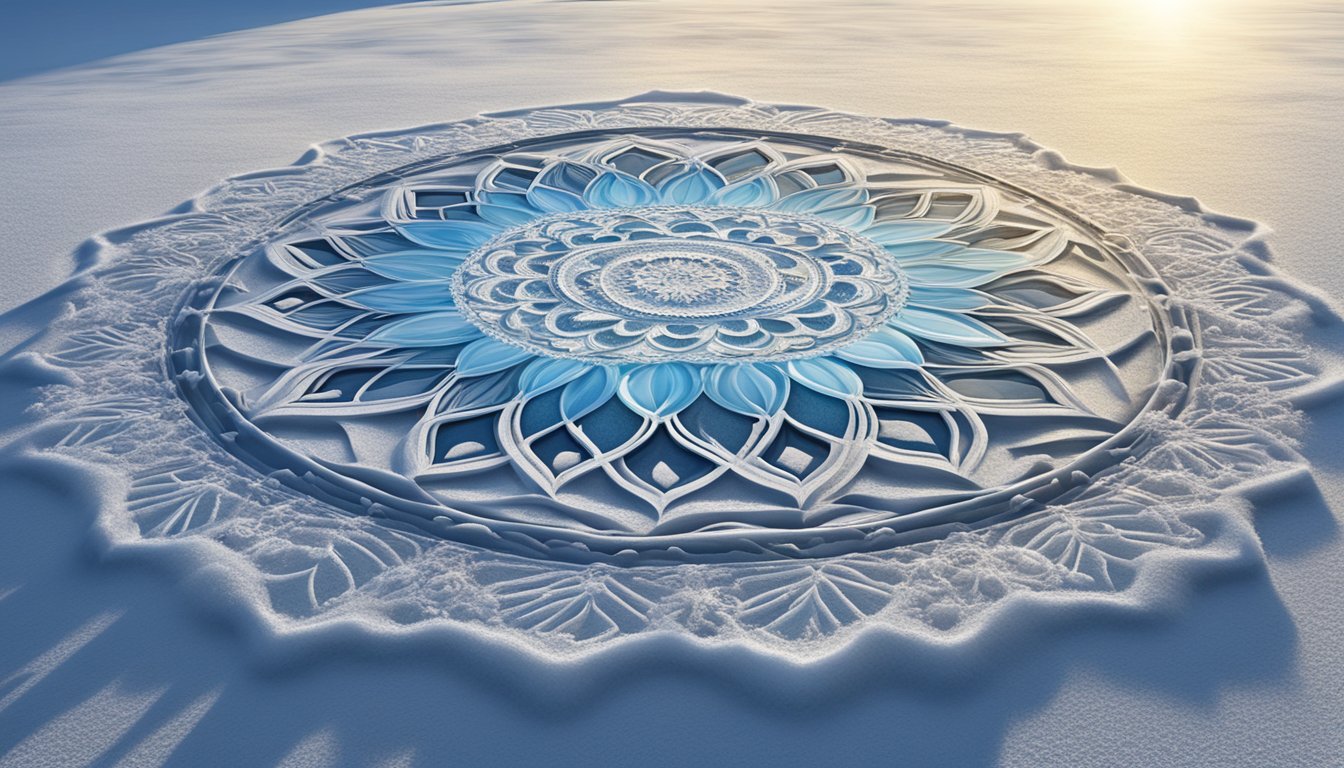
Creating Snow and Ice Mandalas
Crafting snow and ice mandalas is a process that involves careful planning, precise tools, and a touch of creativity. These mandalas are not just beautiful patterns but also a practice of mindfulness that can imbue a sense of magic into a winter landscape.
Choosing the Right Environment
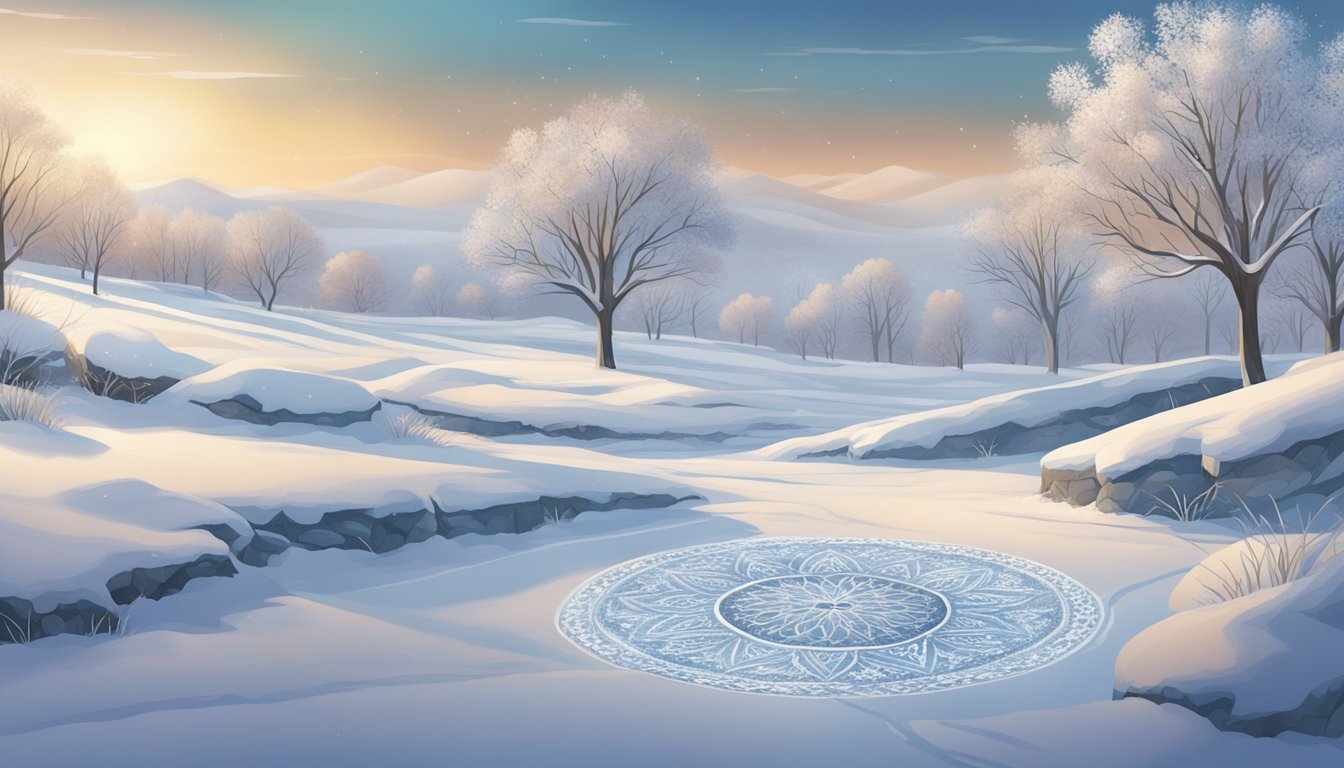
When planning to create a snow or ice mandala, the first step is to select an appropriate location. You’re looking for a place where the snow is sufficiently deep and compact and where ambient temperatures are consistently below freezing.
The area you choose should be sheltered from strong winds, which could distort the delicate snowflakes and disrupt the symmetry of your mandala. A clear space with a minimum diameter of 6 feet will allow for a sizable mandala without the need for excessive stretching or reaching during its creation.
Tools and Materials
To make your snow and ice mandala, you’ll need:
- Measuring Tools: A tape measure for sizing your mandala accurately.
- Marking Tools: A stick or dowel for tracing the outline, and a rope tied to a fixed point for creating perfect circles.
- Carving Tools: Small shovels or garden tools for removing snow, spray bottles filled with water for creating ice details.
- Coloring Tools (optional): Food coloring or natural dyes if you’d like to add a splash of color.
You’ll represent the intricate patterns often found in traditional mandalas and the unique nature of snowflakes by crafting each section with careful attention to detail using your carving tools.
Step-by-Step Creation Process
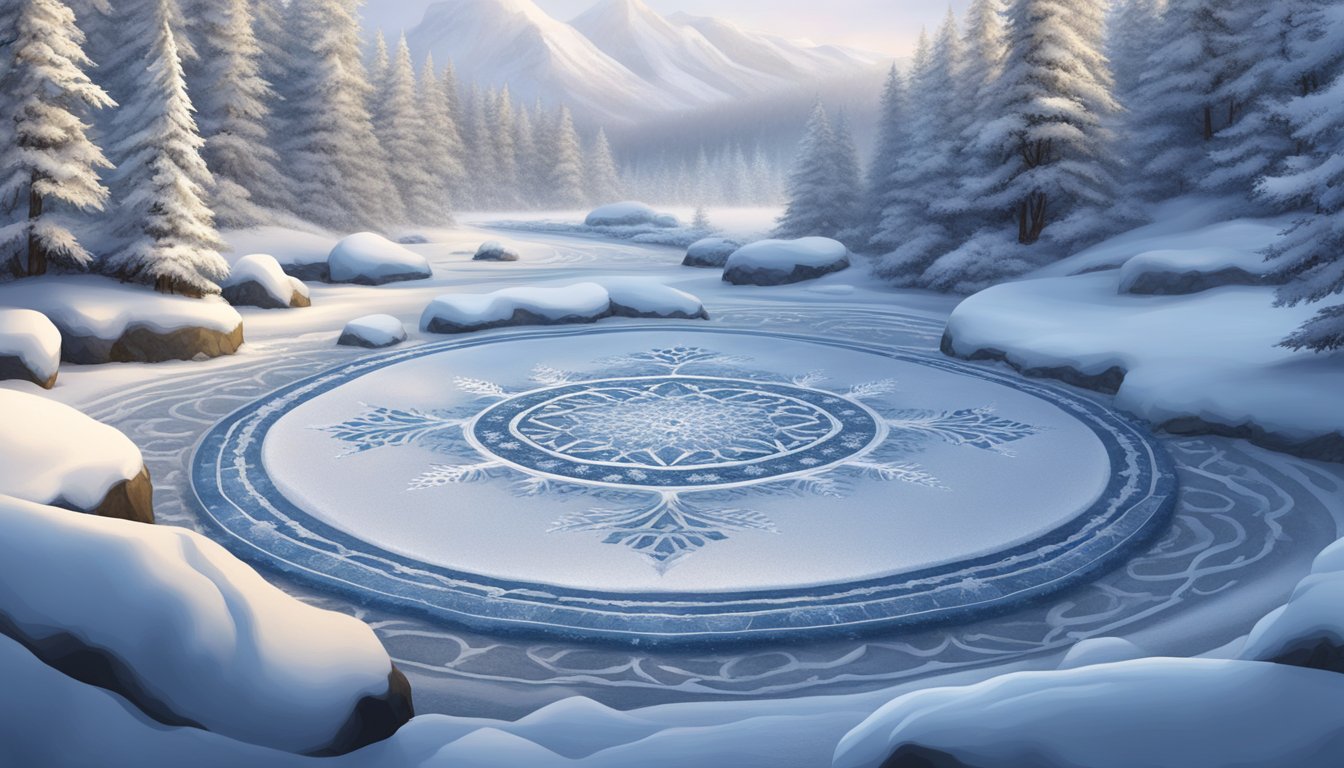
- Layout: Start by marking the center of your mandala. Attach one end of your rope to this point and the other end to your stick. This will be your compass for creating circles. With the rope as your guide, walk in a circle, dragging the stick to outline your mandala.
- Designing: Sketch out the desired pattern, either freehand or with the help of a template. Snowflakes often inspire these designs, emphasizing symmetry and intricate detail. Concentric circles help structure the design and give balance to the mandala.
- Sculpting: Begin removing snow from areas that will form the pattern, working from the center outwards. Carve carefully to maintain the precision of the snowflake-inspired shapes.
- Refining: Use the spray bottles to add water to your mandala. The water will then freeze, enhancing the clarity and durability of the ice mandala. This step imbues a subtle shine, making your design glisten like a natural ice crystal.
- Coloring: If desired, add color to your mandala with the dyes, taking care not to disturb the snow beneath. Apply colors thoughtfully to maintain the aesthetics of your pattern.
Snow and Ice Dyeing Techniques
Creating art with snow and ice involves unique techniques that transform simple fabric into vibrant masterpieces. Here’s a guide that outlines the essential procedures and tips to help you start your own snow and ice dyeing projects.
Snow Dyeing Essentials
Snow dyeing is a process where you use freshly fallen snow as part of the dyeing medium. To get started, you’ll need a white, pre-washed fabric and choose Procion MX dyes for their effectiveness in cold temperatures.
- Prepare your fabric: Soak your fabric in a soda ash solution to help the dye bond.
- Arrange the fabric: Scrunch or fold your fabric on a rack over a basin to catch melting snow and dye.
- Apply the snow: Cover the fabric completely with snow.
- Sprinkle the dye: Scatter your chosen dye powder over the snow-covered fabric.
Pro Tip: Experiment with snow thickness and dye quantity to produce varying intensities and patterns.
Ice Dyeing Methodology
Ice dyeing offers a different approach, with ice cubes replacing snow as the dye medium. This method gives you more control over the dyeing process and produces intricate patterns.
- Set up your station: Use a rack to hold the fabric above a pan, allowing for melt-off.
- Arrange and ice: After soaking the fabric in a soda ash solution, lay it flat or crumple it, and then cover it with ice cubes.
- Dye application: Sprinkle dye over the ice and let it melt slowly.
You can use more or less ice to control how the dye flows through the fabric, impacting the final design.
Color and Pattern Development
The development of color and pattern lies at the heart of snow and ice dyeing. You’ll want to mix and match dyes to find the perfect combinations and create the patterns you envisage.
- Choose your colors: Stick with a color scheme for a coherent design or mix different hues for bold, unexpected patterns.
- Layering: Apply colors in layers, allowing each to set before adding another.
- Pattern techniques: Use folding, twisting, and tying methods to impact dye spread and pattern emergence.
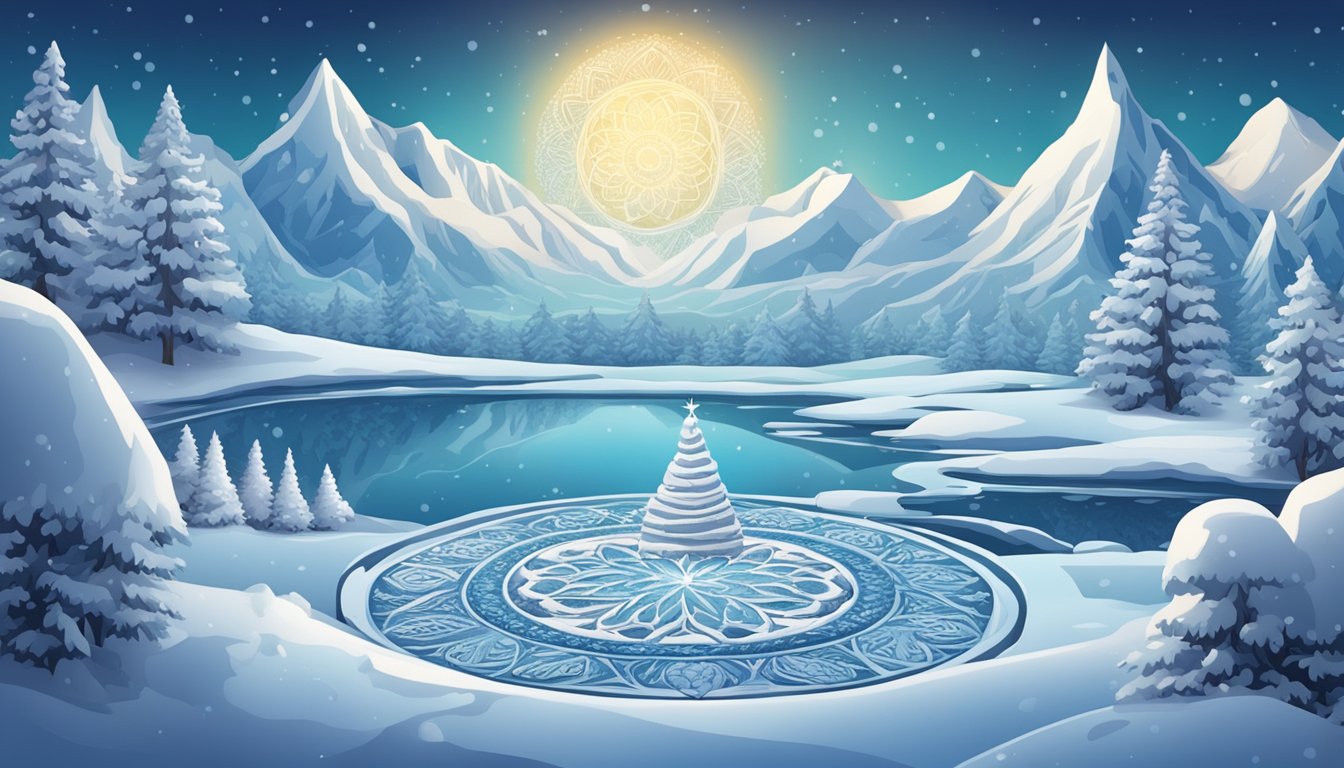
Incorporating Mandalas into Seasonal Decor
Using ice and snow art mandalas can bring a unique and artistic touch to your home decor during the festive winter months. These intricate designs can create a serene atmosphere, ideal for both Christmas celebrations and winter-themed aesthetics.
Mandalas for Christmas
For Christmas, incorporating mandalas into your home decor can add a touch of elegance to the joyous festivities. Consider these ideas:
Table Centerpieces: Create a frozen mandala centerpiece for your dining table. You can use ice molds with petal designs to capture the essence of Christmas flora.
Window Decorations: Hang small ice mandala ornaments against your windows. The way light filters through the ice will cast beautiful patterns, adding a magical feel to your home.
Winter-Themed Mandalas
Embrace the essence of winter by integrating mandalas that reflect the season’s beauty:
Door Wreaths: Replace traditional evergreen with a circular ice mandala wreath adorned with winter-themed elements like snowflakes or icy petals.
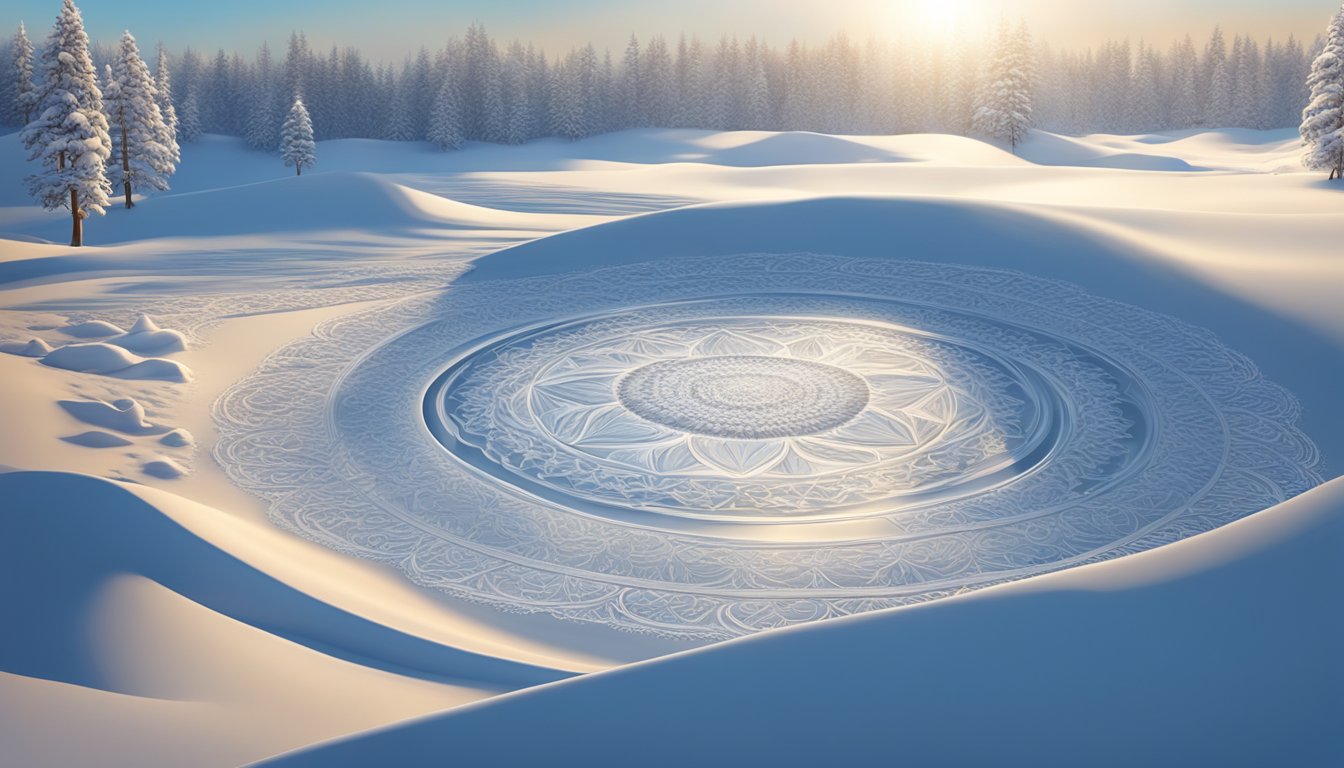
Artistic Displays: Mount larger snow mandalas on your front lawn or garden. Ensure they are securely placed and consider incorporating subtle lighting to enhance their visibility and artistic appeal.
Photographing Your Ice and Snow Mandalas
Capturing the intricate beauty of your ice and snow mandalas is essential to showcasing your artistic work. Here are some specific tips to photograph them effectively.
Best Practices for Photography
Lighting: Natural light is usually the best for illuminating the delicate features of your mandala. Overcast days are ideal as they provide even lighting without harsh shadows.
If you’re photographing at night, consider using a soft artificial light source to mimic natural light.
Angle and Composition:
- Experiment with different angles to capture the unique patterns and shapes.
- Try an overhead shot to showcase the full design.
- Use the rule of thirds to position your mandala interestingly in the frame.
Camera Settings:
- ISO: Keep it low to avoid graininess in your photo.
- Aperture: A mid-range f-stop (f/8-f/11) can give a deep field of focus to keep the entire mandala sharp.
- Shutter Speed: Adjust according to lighting; use a tripod to prevent blur in low light.
Protect Your Equipment: Cold and moisture can damage your camera.
- Use a waterproof bag or casing.
- Keep batteries warm to avoid drainage.
Editing and Enhancing Images
Basic Adjustments:
- Contrast: Increase slightly to make the ice and snow pop.
- Saturation: Be cautious not to over-saturate; aim for natural colors.
- Brightness: Adjust if necessary, but keep the natural look of the snow and ice.
Detail Enhancement:
- Sharpen the image to define the intricate details of the mandala.
- Dodge and Burn tools can be used subtly to highlight certain areas and add depth.
Remember to save your original photos before making edits, and always create backups of your final versions.
Mindfulness and the Mandala Experience
Creating ice and snow art mandalas nourishes your mindfulness practice. It merges creativity with spirituality, allowing you to focus wholly on the present moment.
Meditative Aspects of Mandala Creation
When you engage in crafting a mandala from ice and snow, it becomes a meditative process.
Selecting each piece of ice, you concentrate intensely on the shape and the placing, akin to a meditation technique. Your attention is anchored by the cold touch and translucent beauty of the materials.
During this time, your mind is encouraged to clear, just as the snow blankets the ground in spring, and your thoughts focus solely on the pattern you are creating.
- Concentration: Deep focus on shapes and design.
- Breathing: Synchronized with movements, enhancing calmness.
- Presence: Full attention on the creative act, away from other distractions.
Therapeutic Benefits
The therapeutic benefits of mandala creation are significant. The symmetry and balance involved in mandala design can induce a state of inner peace. This sense of harmony translates into your life, helping to manage stress and allow for introspection. It’s like seeing the magic in the ordinary, turning a simple snowfall into a spiritual journey.
- Stress Relief: By being in the moment, your stress levels can drop.
- Self-Expression: The act of choosing colors and designs mirrors your inner world.
- Connection with Nature: Creating with natural elements deepens your bond with the environment.
Teaching and Sharing Mandala Art
Ice and snow mandala art can enrich your creative repertoire and offer a unique educational experience. Whether in a classroom setting, through community involvement, or online platforms, there’s a place for you to learn and share this mesmerizing art form.
Mandala Art in Education
Incorporating mandala art into your classroom provides a multifaceted learning opportunity. It allows students to explore geometry, symmetry, and cultural art history all at once.
- Lesson Plans: Introduce mandala concepts through interactive lesson plans that blend art with math.
- Projects: Create ice and snow mandala art projects for students to apply what they’ve learned.
- Benefits: Enhance students’ fine motor skills and concentration.
Workshops and Community Events
You can engage with mandala art outside the classroom at local workshops or community events.
- Workshops: Look out for local artists hosting ice and snow mandala art workshops.
- Events: Participate in community events to create large-scale mandala projects.
Advantages:
Skill Sharing: You can learn new techniques and insights from experienced artists.
Social Bonding: Such events foster community spirit and collective creativity.
Online Resources and Tutorials
If in-person learning isn’t feasible, the internet is teeming with resources.
- Video Tutorials: Step-by-step guides are available to walk you through creating your first mandala.
- Blogs and Articles: These often include photos, tips, and sometimes affiliate links to recommended tools for mandala creation.
- Forums and Social Media: Connect with a global community of mandala enthusiasts for inspiration and support.